Tokyo Skytree sheet metal model (Illumination α 1/1000 LED) assembly ③ final
The completed Illumination α 1/1000 LED
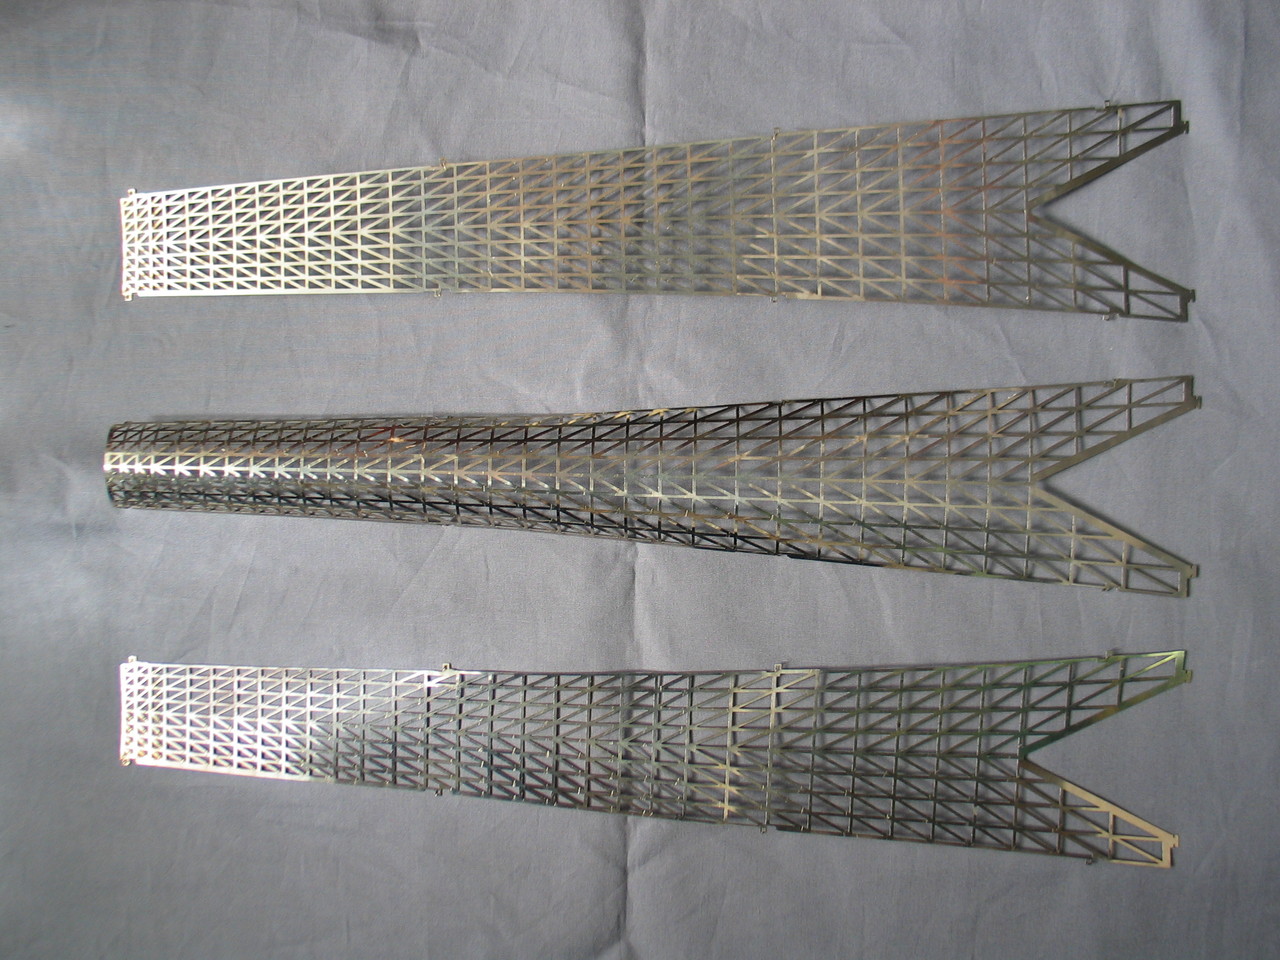
These are grid plates cut out from laser blanks. Three are used per unit.
The board in the center of the photo has been bent into a kamaboko shape.
 It is attached to the main unit.

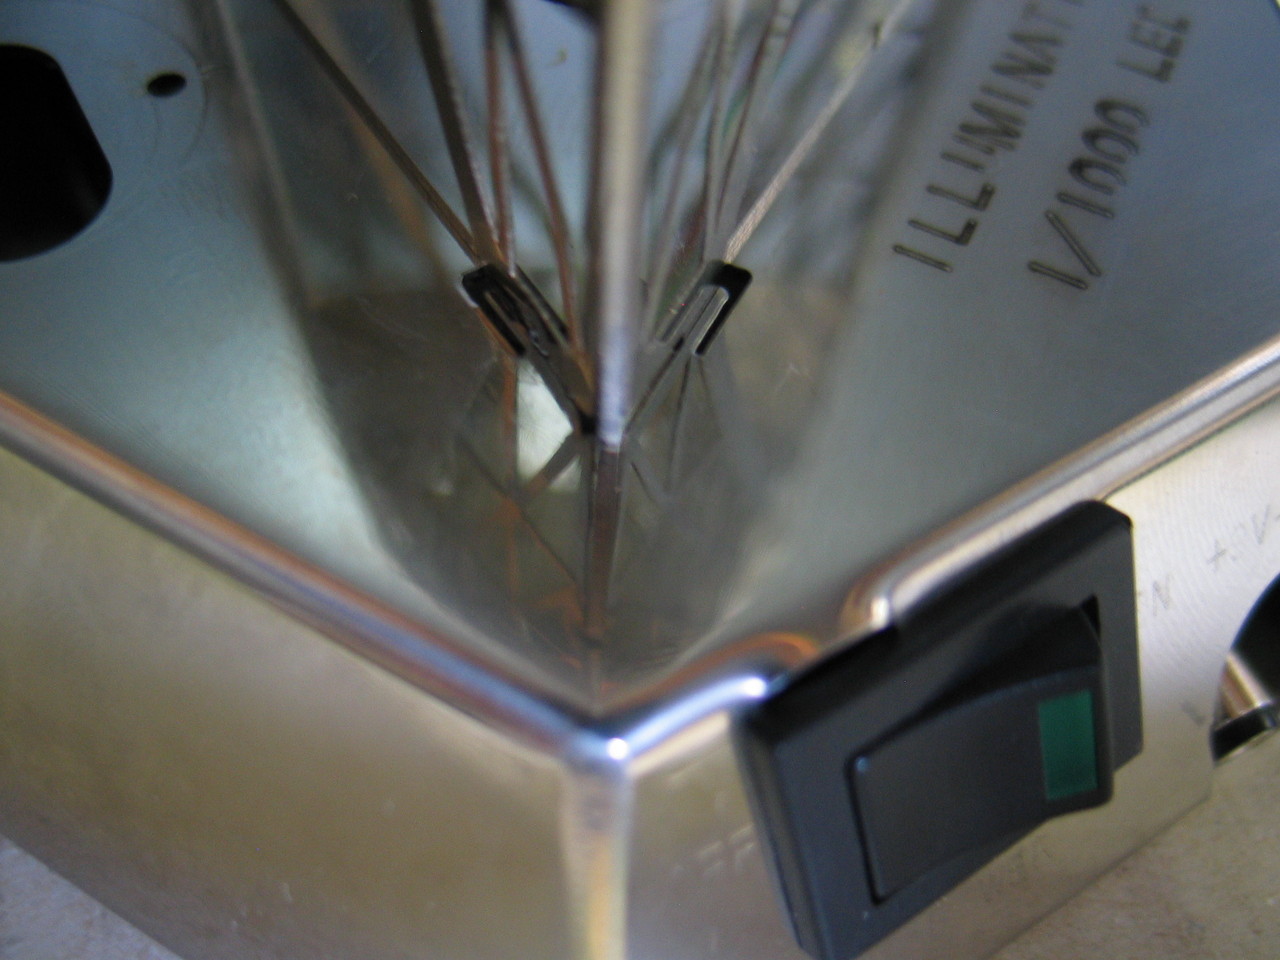
This is a hook hole for attaching to the main unit.

Insert the hook hole into the main body.


Inserted state.


Only 1 left.


I'm installing the last one.

I installed all three.

Now attach the main body to the base.

The base has slits on three sides.

Install the unit while passing the wiring through the base.
Insert it into the slit.

To secure it, use a screwdriver to bend the rod so that it hooks on the back side and doesn't return to its original position.


It's a base.

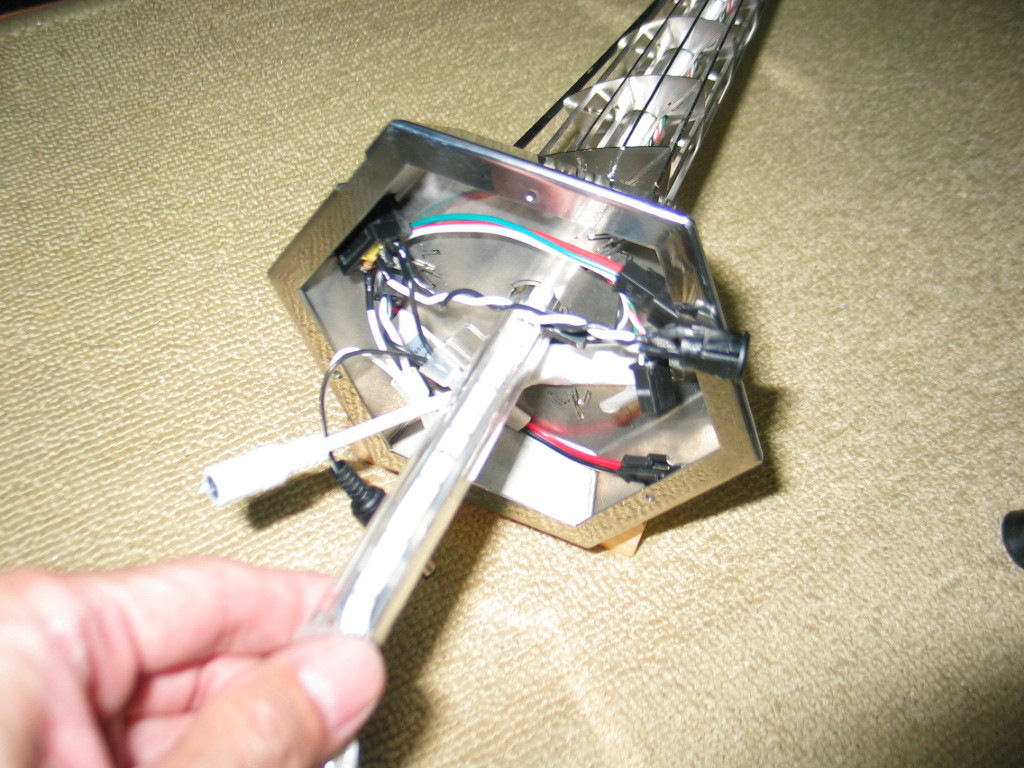
Attach the electrical parts to the back of the base. Attach the controller for the rotating LED on the first observation deck.

Next, attach the power switch harness.

It has been installed.

This is a core pillar RGB LED controller.

Install the RGB LED controller.

The remote control receiver for the controller protrudes from above the throne.

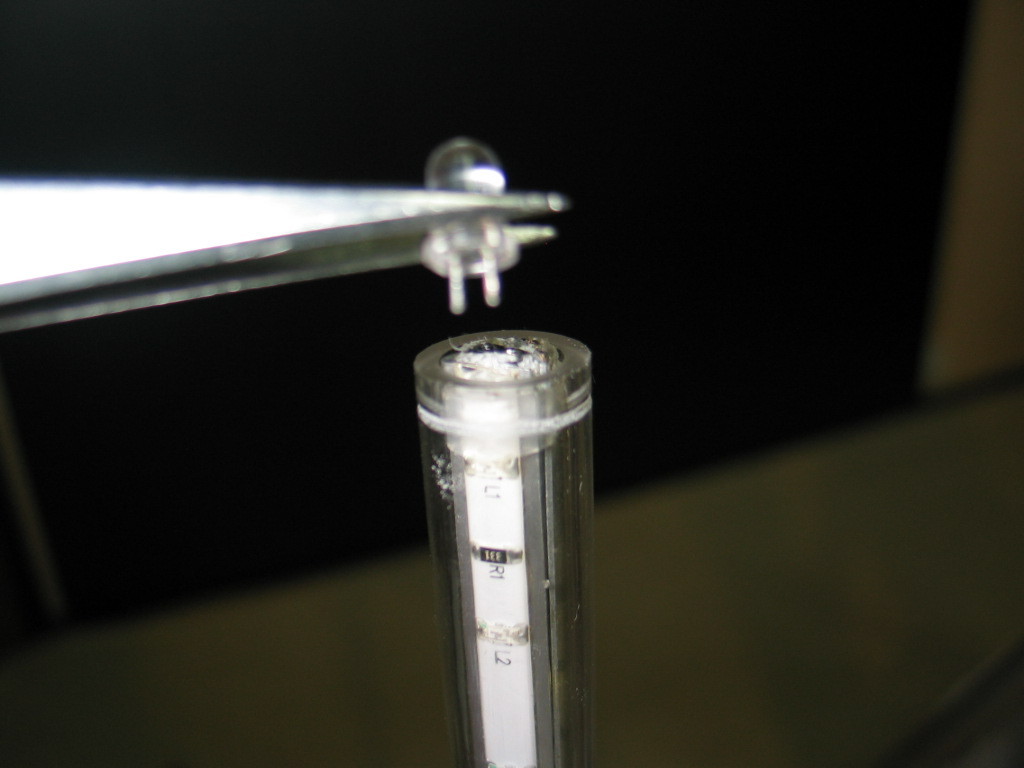
RGB LED for pillar lighting.

The core pillar is inserted.
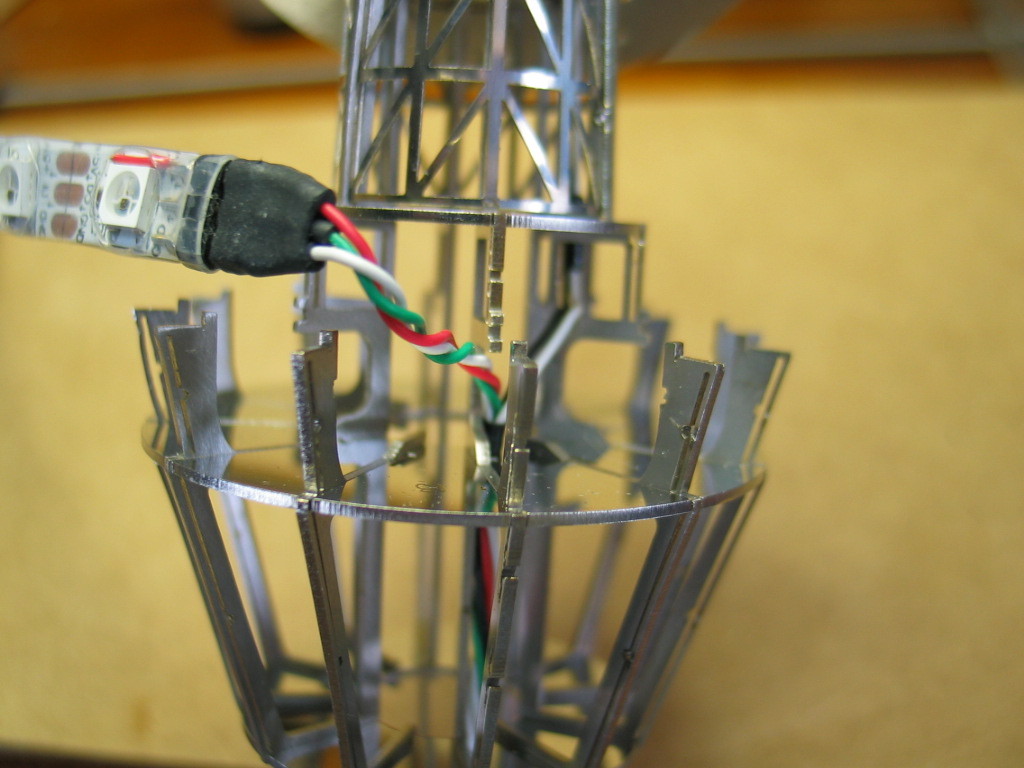
Connect the RGB LED for the gain tower lighting to the top of the core pillar LED.

This is a 5V DC/DC converter harness.

All wiring inside the base has been completed.
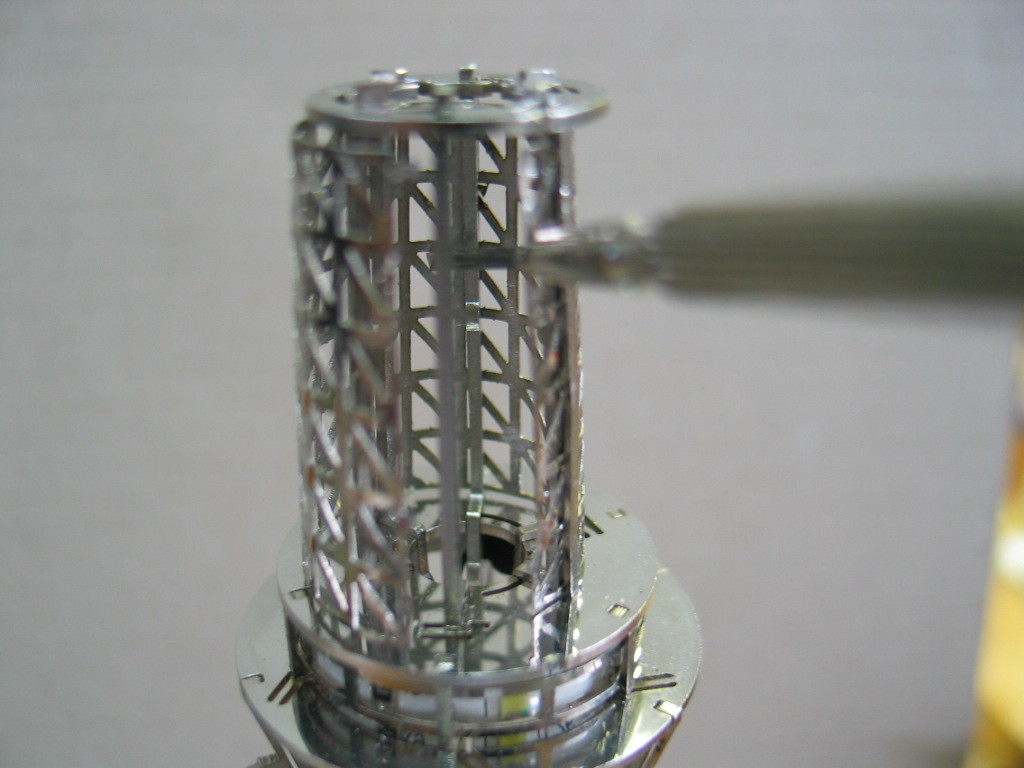
Installing the mesh at the bottom of the top gain tower.

These are windows to be installed around the first observation deck.
Shape it into a cone shape.

Plastic surgery completed.

Wrap it around the first observation deck.

Insert it into the slit and wrap it around.
 This is a net that will be attached to the antenna part at the bottom of the First Observation Deck.
I used three pieces. The top three are before shaping, and the bottom ones are after.
Installation of rotating LED lights on the second observation deck.
Connect to the connector.

The LEDs will be installed in a circular shape inside the second observation deck.

Then wrap the windows around it.

This is the installation of the aerial corridor at the first observation deck.

Wrap it around and secure it in place.

Bend the tip with pliers.

Five units were completed.
Gain throw from the first observation deck.

First observation deck, second observation deck section.

Top of the pedestal.

Controller section on top of the base.

The first observation deck is enlarged.

View from above.